

The biggest enemy of my garden is deer. The fence is a must-have around here. Without it, there is no hope. This is a simple wood post, bailing wire, 6 feet tall number. Only once did a deer jump into it, and you should have seen the havoc when that poor soul tried to get out. It was either going to get out, or die trying. All of my kids were in tears watching, yelling, "It's going to DIE!" Well, thankfully it must have had some deer-superhero qualities, and it jumped over.
I already posted about Square Foot Gardening. If you haven't motivated yet to try it, but want to, IT'S NOT TOO LATE! Shoot, we are going to have to re-plant half of our crop because it has been so wet and cold up here in the NW. Truly, this is an easy project, especially if you just do a couple of boxes.
 The box system makes it easy to designate each one of my children their own little plot. Because it is a manageable space, it is easy, not overwhelming, for kids. They are responsible to:
*weed the box (there aren't many in this system, but an occasional grass seed grows)
*mix in new compost at the beginning of the season
*plan what they want to plant and when they can plant it (then we go to the garden center and each child buys the plants)
*water it
*stake the plants as they grow (tomatoes, beans, etc.)
*harvest

Early growers - you can plant these in early-mid spring and they can take the rain and some cold: broccoli, chives, mint, rhubarb, peas, lettuces (including spinach), strawberries, cauliflower, parsley, rosemary.
Everything else you can plant after the danger of frost has past. For us, this is usually around Mother's Day, or when the snow is off the mountains. There are a few plants that are VERY finicky, wait to plant the following until it is WARM (usually mid-June in our climate):
Basil, Melons, Cucumbers
I've learned the hard way on all of these -- each year, for some reason, I am hopeful they will make it, so I plant them, and they always DIE. Haven't I lived in the inland NW long enough to learn? This year they are all in a wagon and I pull them in and out of the garage each day (a PAIN), but I'm trying to control myself, we'll see if I last until June!
 As you can see, I don't stick to just boxes. In order to create some visual interest, I also use whiskey barrels (because I love them). These are great for planting root vegetables due to their depth. We have a whole barrel of just carrots. I also use sheep troughs. My friend got one of these to use as a backyard swimming pool for her young boys, and I ran right out and got 3 of varying sizes for my garden. I love the way they look. I flanked the entrance of my garden with two of them and planted flowers in these. It makes me happy to see flowers when I enter the garden gate. Trellises also rise out of my long, rectangular box. I like to climb different plants up these each year.
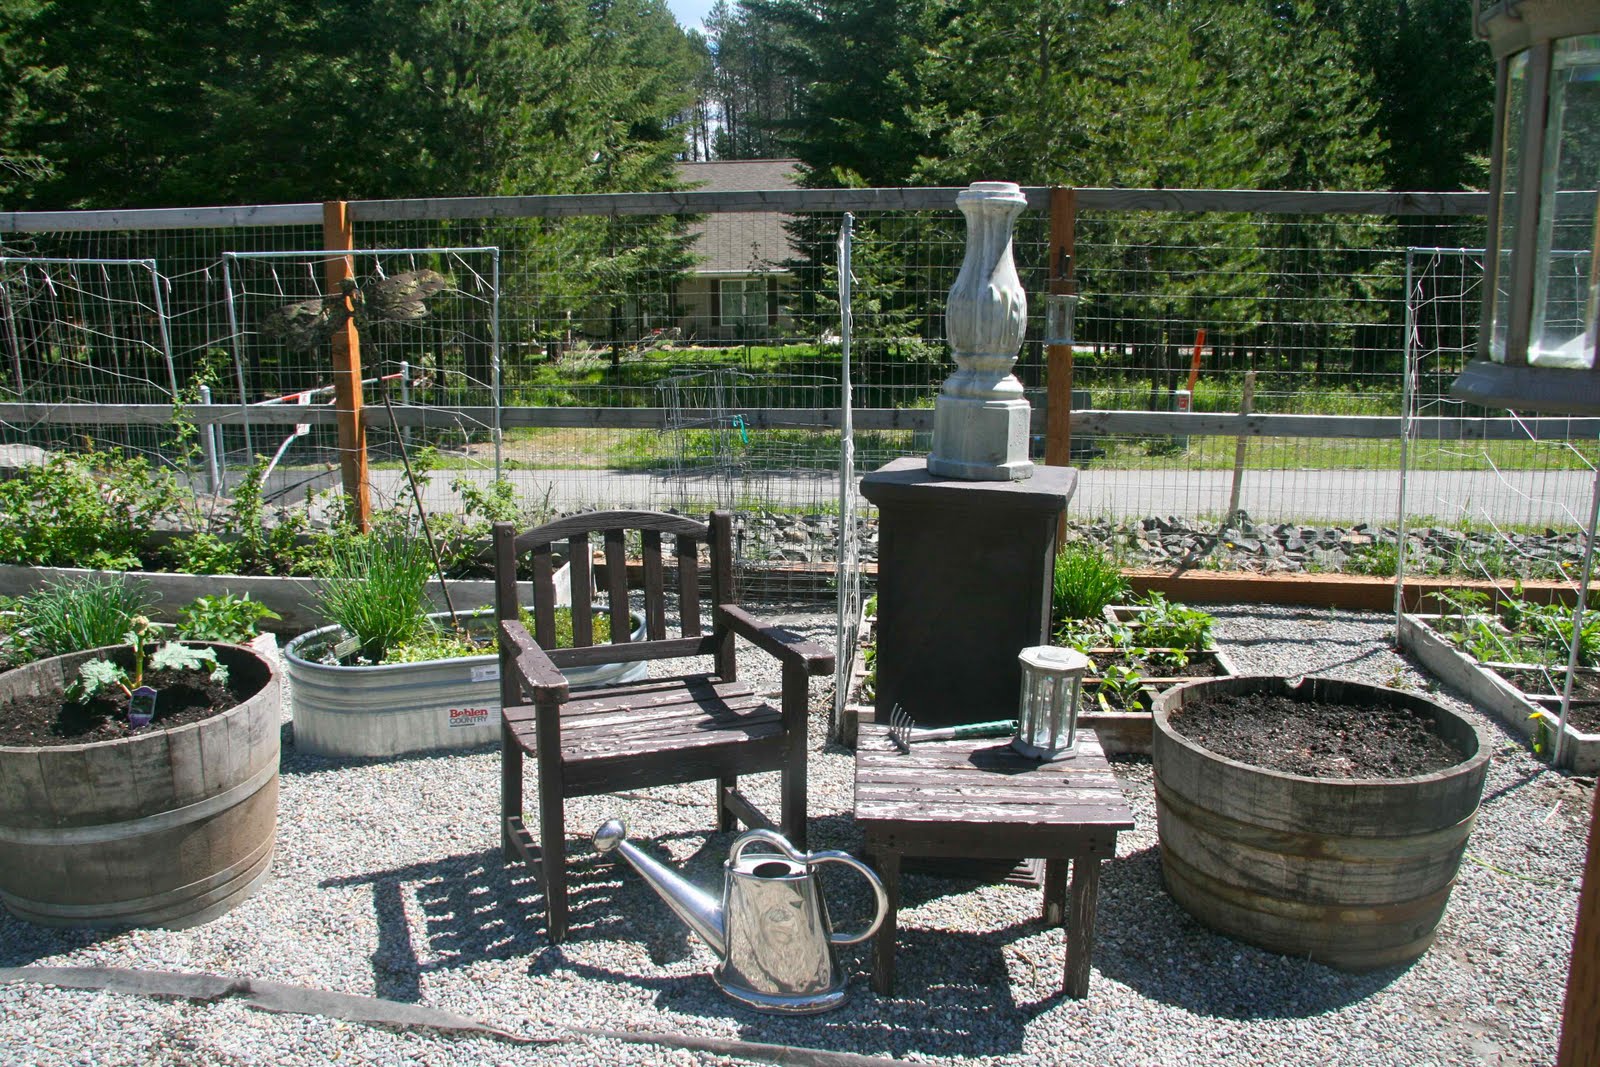 Another element I added to my garden was a little sitting area. There is one wooden chair, a small side table, and a garden pedestal with a little decorative spire I found. The table we use constantly for holding tools, seed packets, etc., and the chair is nice to sit a spell and enjoy the fruits of the labor!
HAPPY GARDENING!


